Screened Porch Makeover: Part 2
Hello friends! As promised, I’m back today to share the other side of the screened porch.

Most of these pillows are from H&M. Yes, they have a home line and let me just tell you their stuff is of great quality and easy on the pocketbook. The striped pillows and the “Flour” pillow all zip on, so you can take off the cover and wash it (hallelujah). And guess what else, they are $5. I won’t be offended, go check them out at www.HM.com and order a few right now. I’ll wait. ;-). The antler pillow was a DIY. I fell in love with the one at Birch Lane but couldn’t fork over $30 for a throw pillow. Eek. Instead, I got out a piece of cardstock, drew on an antler, cut it out, traced it with a pencil on my white lumbar pillow then used a bit of leftover paint (Behr espresso bean) and a small paintbrush to color it in. Like so:


Easy right?

The throw blanket is a favorite of mine and was found in the clearance aisle at Homegoods (really is there any other aisle in there?). The faux wisteria in the back (which the Mr. always jokes looks like sideshow Bob) was a Craigslist find for $5. I don’t know what he’s talking about!?

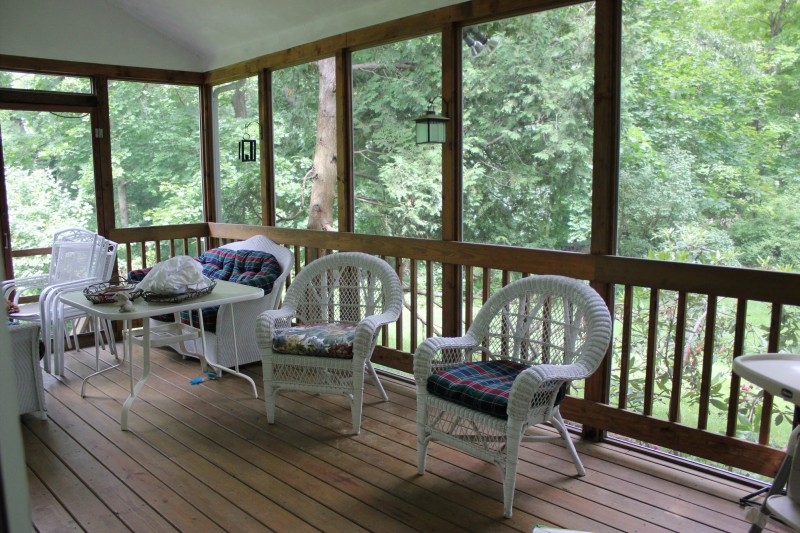
The coffee table was a roadside rescue. It used to be dark cherry so I sprayed it with white spray paint, beat it up a little with a hammer (who know decorating could be so therapeutic :-)) and then distressed the edges and legs with a piece of sandpaper. The wicker sofa is one of two that we scored from my parents when they sold us the house. They came with plaid cushions (seen in previous post here) which were a little dated so I covered them with black duck cloth from Joann Fabrics. I’m not a great sewer so I used liquid stitch to secure them. In hindsight I should have used Velcro so I could remove them for washing. (Thanks again Deb [MIL] for the tip!)
Here is a bird’s eye view. Not to be forgotten – the board and batten the Mr. put up for me surrounding the fireplace. It was part of my Mother’s day gift last year. I love how it adds character to the otherwise huge, blank wall.

While doing this photo shoot I was playing around with furniture placement. It’s a long, thin room so it’s a bit of a challenge to get the look and flow of the room to make sense.


I’m kinda chuckling to myself over here – I really need to consider what time I’m posting when I’m doing a photo shoot. 9Am too early to show pics of wine? According to this clock it was 2:30…still to early?

The dining table in here was actually an old desk I found on Craigslist for $15. Since we don’t have a ton of room, I figured it would be just the right size. I sanded down the top a bit to make it look a little more rustic.

Here’s another view of the furniture placement I have settled on (for now 😉 ). The rug is from Urban Outfitters. Full disclosure, it’s really thin. The Mr. jokes, “Kate, what have you got a blanket on the floor for?” It has worked pretty well though in this room and dries quickly if it gets wet. I’ll give an update on it later this summer.


There you have it guys. Thanks so much for popping in!


